Replace the sky in the photo
How to use Gimp or Photoshop to make the sky bluer or darker in the image...
Changing the sky is as simple a Gimp operation as Photoshop. The latter, of course, has a "blending" command that would offer an easier way to do this, but rarely works in this case, and therefore you have to resort to determination, like Gimp. Then the operations are similar.
1) Upload a photo for improvement and upload an image from the sky
The picture below will serve as an example.
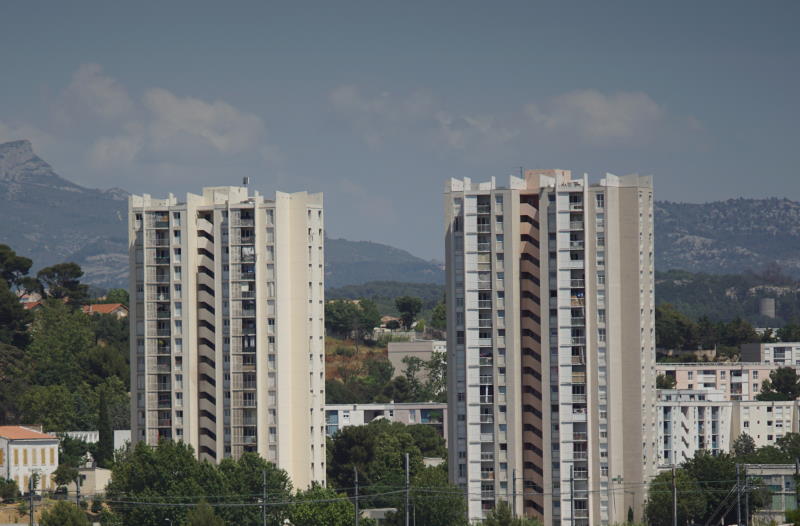
If before you did not have the opportunity to take pictures of the sky, you can return that part of the image on which there is a sky that can be useful for surgery.
This image of the brightest blue color will be used for the upstart:

The sky image will be resized if you want it to have the same width as the image you want to resize. The height should cover the height of the sky in the photo.
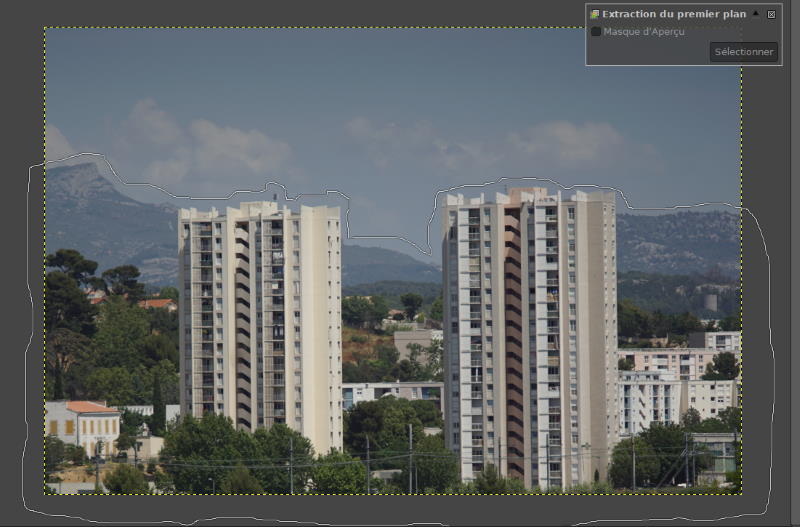
2) Separate the sky from the earth
The "foreground extraction" tool is what you need to make distraction the easiest. We surround the part of the photo that needs to be saved, and we can freely go beyond the image, as shown below...
3) Use a brush to tell the software what you want to save
Around the landscape, press Enter on the keyboard. The portion outside the selection turns blue.
Without changing the tools, circle the selection to help the program understand what needs to be saved. When you release the brush, this operation is complete.
You can start it again if the result doesn't suit you.
Click the Select button in the window that appears when you select the foreground extraction tool. The image border then appears as a stroke with usually also holes in the highlighted area!
4) Remove holes
Unfortunately, you can see that lots are popping up within the boundary. To fix them, on the Select menu, click Close Holes. Now you will have a clear line between earth and sky.
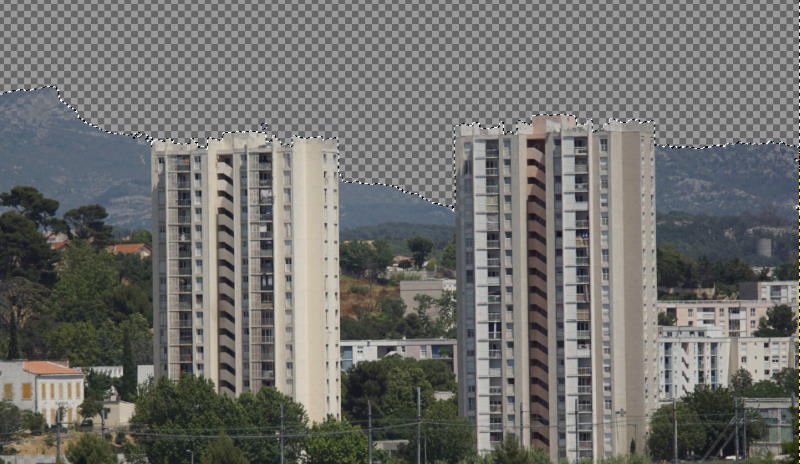
5) Take the sky away
Since you have selected land, click on "Flip Selection" in the Select menu to select the sky. Then press the Remove key from the keyboard to remove it. The area it occupies becomes transparent.
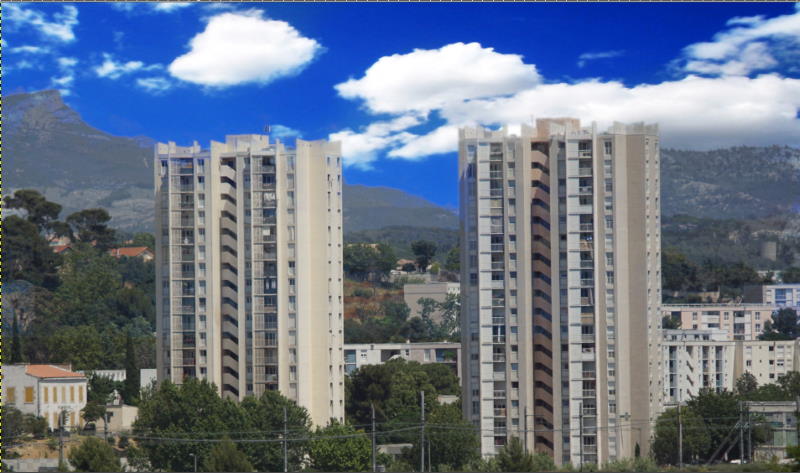
6) Add a new sky
Add a new layer to the Layers window. Copy the sky image you've already uploaded (or you can do it now) to this layer.
Click an image layer and move it to the front by clicking the red arrow. Now you see the sky appear in a transparent area.
If the corners of the original sky appear in the image, perform steps 2 and 4 above those areas of the image and delete the selected areas to make the new sky transparent.
Merge the layers and save the image.
Photos would need a little more contrast and repainting to get along better with this bright new sky. If necessary, for your own frames, you will find these functions in the "Colors" menu with the options "Bright contrast" and "Auto," "Color enhancement ."
See also...