Image any shape with a blurred outline using GIMP
Based on a photo or image, a thumbnail or logo with blurred outlines is created in the library for integration into a web page.
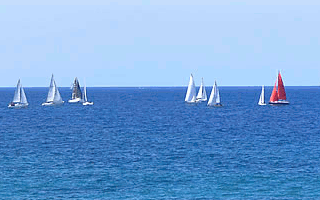
An example image is a marine photo of 320 x 200 pixels, a personal photo.
 |
-> |  |
There is an immediate way to blur the edges of the image: use an airbrush, taking the background color as the color. But for more accurate rendering, you need to use a filter or use GIMP resources and juggle layers and masks...
Simple method: applying boundary filter
Order |
Dialog box or image |
Switch to RGB mode (or RGB in English): Image -> Mode -> RGB |
|
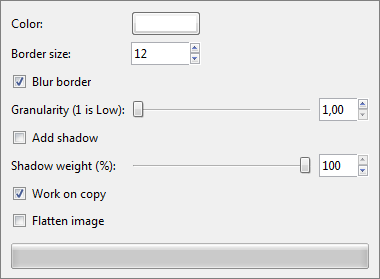
Go to Filters -> Decor -> Fuzzy border. Granularity adds waves to the border, but with a minimum value it will be rectilinear, as in our demo. |
 |
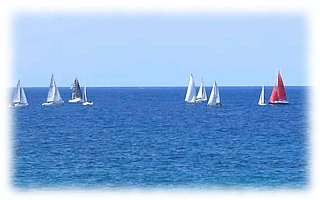
Result on the right. This method is simple and fast, ideal when you want to have a rectangular outline. |
 |
A different method is required to select a stroke shape.
Method for selecting a shape stroke
This achievement requires about 15 stages. It's easy to miss one, don't be discouraged .
| Order and purpose | Layers or dialog boxes | Image | |
|---|---|---|---|
Use File or Open to load an image to convert to an art thumbnail. Set the image to RGB mode (image -> mode -> RGB, or RGB in English). |
|
||
| Click the background color to set it, in our example it is white. | 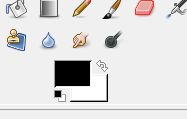 |
||
CTRL L Open the Layers window. You see a unique layer, our image. |
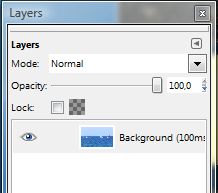 |
||
Click a layer. Click on the duplicate button below. |
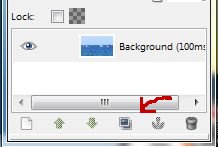 |
||
| The second layer appears above the previous layer in the dialog box. | 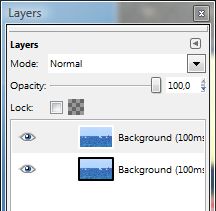 |
||
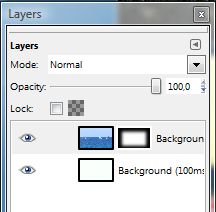
Click the bottom layer corresponding to the background image. CTRL A to select the entire image. CTRL. (dot) to fill the layer with the fill color. |
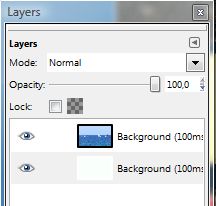 |
|
|
Click the top layer. Right-click a layer and choose Add Layer Mask or Add Layer Mask. Select Black (full transparency). A black image appears on the right. Our picture goes white. |
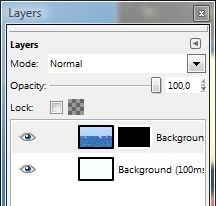 |
|
|
Press + ALT on the layer mask (press alt). The image turns black. |
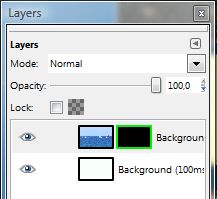 |
|
|
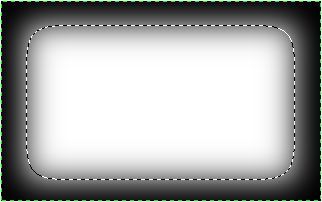
CTRL SHIFT A to erase the selection (previously selected image). Select a portion of the image with a rectangle, ellipse, or lasso, depending on the effect you want. |
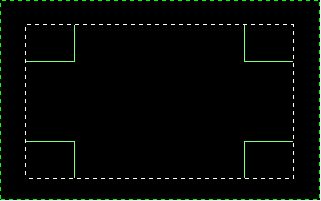 |
||
Right-click the image and select Select/Smooth or Select/Feather. Enter 50 and click OK (this is the width of the gradient). CTRL. (dot) to fill with the original background color. The image is blurred and so is the layer mask. |
 |
 |
|
Press ALT CLICK on the layer mask to display the final image. Merge Layer. On the File menu, go to Save Under... to save the image with a new name. |
|
In case of problems:
- Make sure the image is in RGB mode.
- Use CTRL Z (undo) to delete the last operation.
- It is possible that you will not be successful for the first time. Skipping a step can easily come into the process. Be patient and... Please try again .
See also: Transparent blurred outline.