GIMP Detonate Tutorial
Changing the decor behind a person, animal or moving an object from one photo to another is easy by defrosting, and then copying and pasting.
For this, GIMP offers a special tool - the Foreground Select Tool, which is an ideal tool for pulling out.
Update: This tutorial was made on Gimp 2.6. Starting with version 2.10 and later, the work of the tool is different.
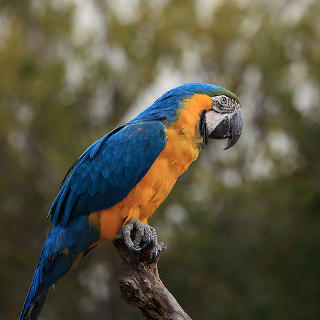
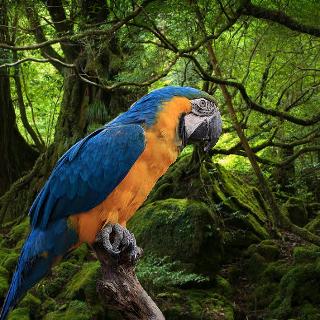
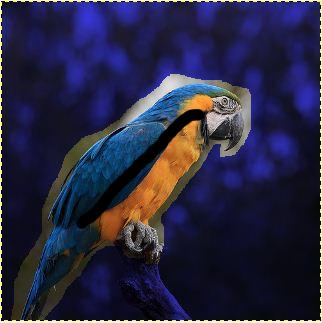
Initial and final image |
|
 |
 |
1) Load the initial picture. Here on the left |
|
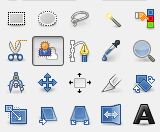
2) Click the highlight icon |
|
A dialog box appears. All selection operations will be performed using this tool. You do not need to change it before the copy-paste step.
|
|
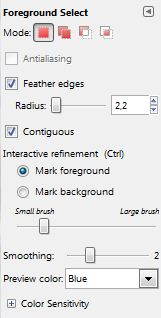
3) Choice of options |
|
Modes:
Mitigation (Feather edges) Edge blur effect to avoid drawing stairs. Continuity Single selection of a brush path or multiple selections based on the colors indicated by the brush. Interactive refinement Using a brush, fill color, or stroke to better view a line depends on the color of the image. Brush size: for more or less thin selection. Grinding Remove small holes that may appear in a de-energized image. Mask color The color that will hide the background is blue by default. |
 |
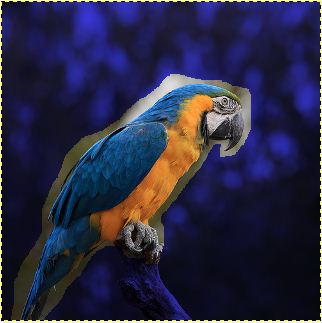
4) Outline the object to be weathered |
|
Surround the object to be wiped as close as possible, especially in areas containing different objects. When you join the starting point and release the mouse, the background around the selection turns blue. The mouse cursor is replaced by the brush cursor. Do not change the tool, the second step begins. |
 |
5) Paint the object you want to save |
|
With a brush, go with large strokes on an object that needs to be wiped. When you release the mouse, the object is narrow. But there may be parts of the object that are not included in the selected area, pass a brush to it . |
|
6) Finish and copy |
|
Press ENTER to end. Thus, you leave the shutdown mode. Copy (Edition-> copy) and paste into a new image (Edition-> Paste -> New Image). The object is now isolated against a transparent background. Save as PNG to preserve transparency. |
|
7) Apply to new decor |
|
To change the decor, load the image selected for the decor. Go back to the dug object, select everything, copy and paste into the decor image. |
|
Your first step in editing photography is complete. GIMP, by providing increasingly advanced tools, is becoming a high-performance graphics and photo editing software. The addition of plugins still complements it in the way we see with the object removal tool in the photo.
See also: How to replace the sky in the photo. Application with Gimp 2.10 onwards.