To insert an image using GIMP
Composing an image with other images is easier than it seems, and is done using the scissors and copy-paste tool, in a few steps.
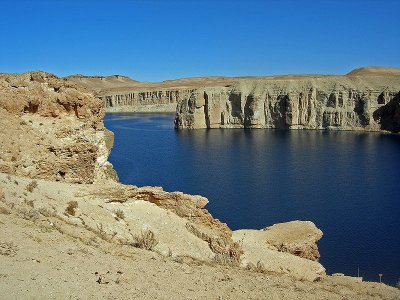
We want to capture a photo of Zallasht Sadat (Miss Afghanistan 2008) on Lake Band-e Amir.
1) Background image and inlay image |
|
 |
 |
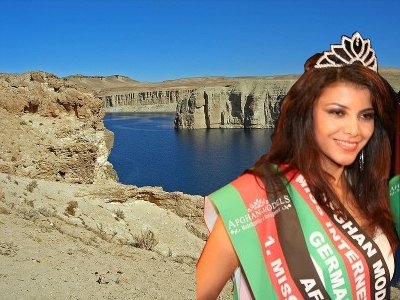
2) Dig out the photo on the right. |
|
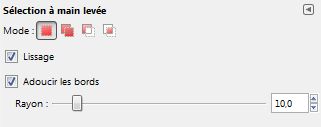
To remove the black background and replace it with a transparent one, a scissors tool with a raised hand is used, the perimeter of the image to be saved is determined. It's actually both simple and fast. But still need to eliminate the core. Select the soften edges check box in the scissor options:
|
 |
3) Convert to selection |
|
When the last point is superimposed on the start point, the scissor tool is automatically disabled and the lasso image replaces the mouse cursor. Just click inside the limited image to select it. Copy and Paste as New Image. The selected object is now on a transparent background. (The picture on the right only shows the disappearance of the background). |
 |
4) Insert image |
|
 |
Now in the model image, click Select All and then Copy. Go to the background image in selection mode and click insert. Move the image as needed. |
5) One option: Meltdown effect |
|
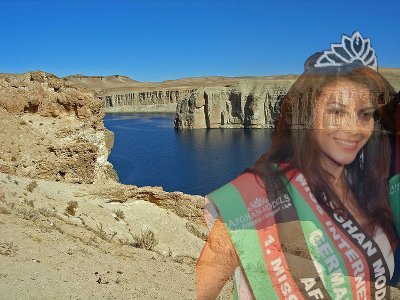 |
When you just inserted a model image, you have two layers, one for the background image and one for the floating image you just inserted. In the same layer window, you can change the opacity of a floating image. |